
Hi, I am Sheyla
& welcome to my food blog!
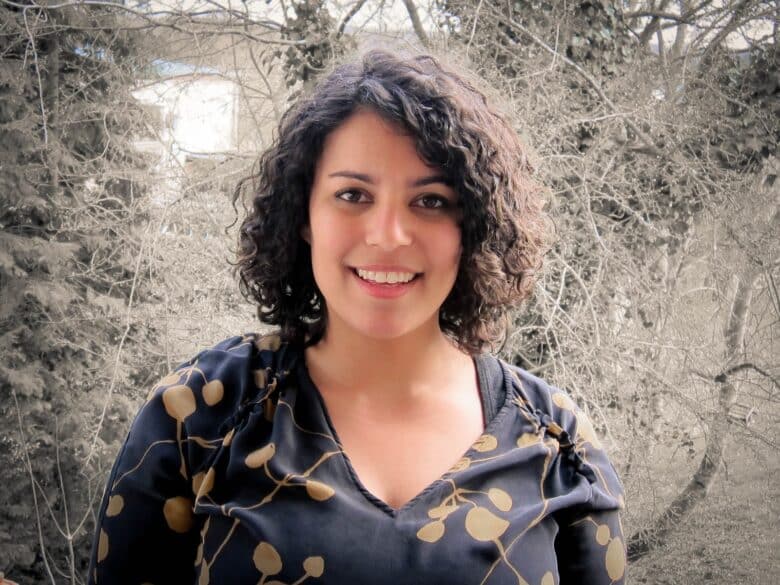
I am a Luxembourg-based food blogger and the creative brain behind Passion meets Creativity. In this tiny corner of the Internet I’ll share my love for creating flavour-packed dishes that turn everyday meals into unforgettable moments.


The latest recipes


Most popular this week
Boxemännercher
Nobody says no to a good Boxemännchen this time of the year! From little children who truly believe in St Nicholas to adults who love …
Roasted Red Pepper Walnut Dip
Growing up in Luxembourg, where you have access to real good bread and international foods my love for dips and spreads has grown enormously over …

Never miss a recipe

